A wonderful, easy, quick, delicious recipe! Serve as a starter, lunch or, with some bread, for dinner.
Serves 4
6-7 medium sized zucchini/courgette, washed (no need to peel)
1 liter of vegetable broth (or more if you want a thinner soup)
Dash of salt
(optional: black pepper and a drop of agave/maple syrup)
2 tsp Boursin garlic soft cheese (or just 1/3 of a minced garlic clove)
Optional: 50 ml sour cream (or coconut cream)
Decoration: Parsley and 2 tbsp of sour cream
1. Cut the zucchini into thick slices. Place in a saucepan along with the vegetable broth and salt.
2. Simmer 15-20 minutes until the zucchini is soft.
3. Take off heat, add the cheese and blend with a hand-held immersion blender. (At this point you may also add the optional sour cream – this will make the soup creamier)
4. Add some more broth if you prefer a thinner soup. Reheat if the soup got too cool.
5. Season with more salt and pepper, if needed. A drop of agave or maple syrup can help balance the flavours.
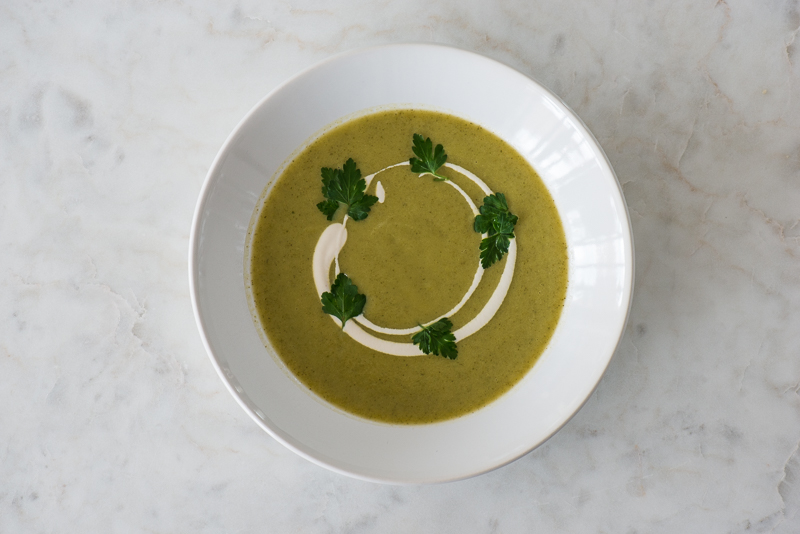
6. Pour into serving bowls, drizzle sour cream and add some parsley leaves.


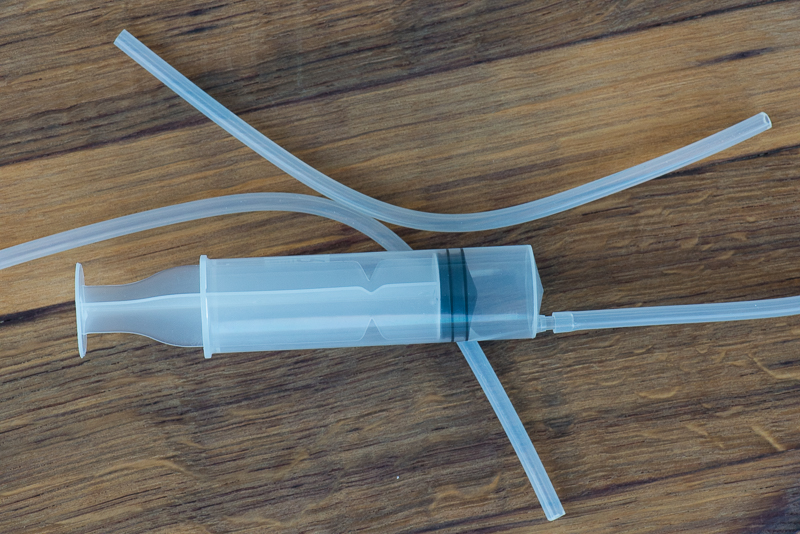

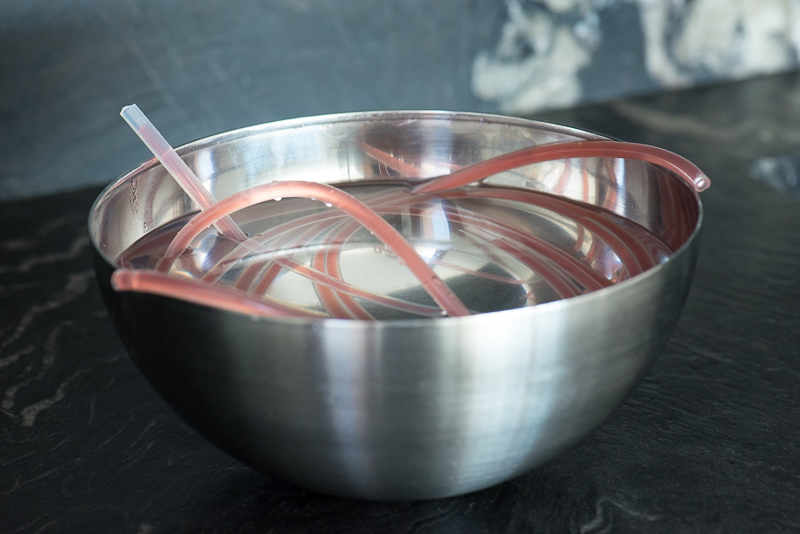
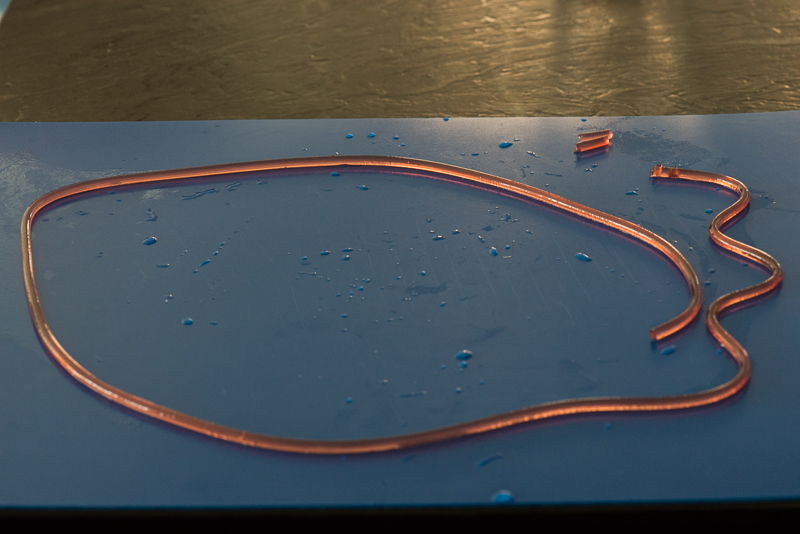
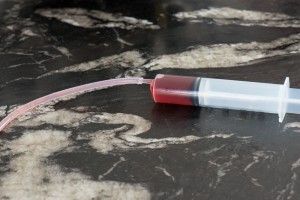 Make the syrup according to the recipe. Add some syrup into the syringe, fit the tube (long tubes are the best) on the syringe and push to fill the tube.