Salted Choco Vanilla Panna Cotta

171207 Salted Choco Pannacotta-8550

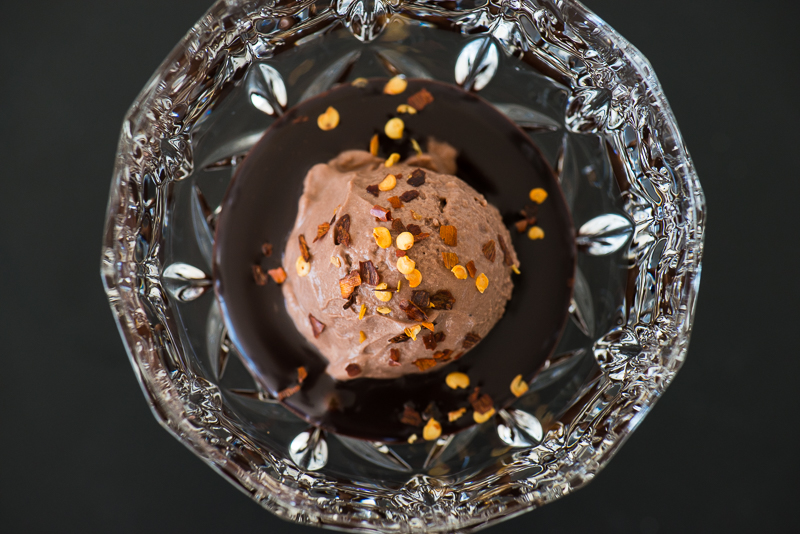
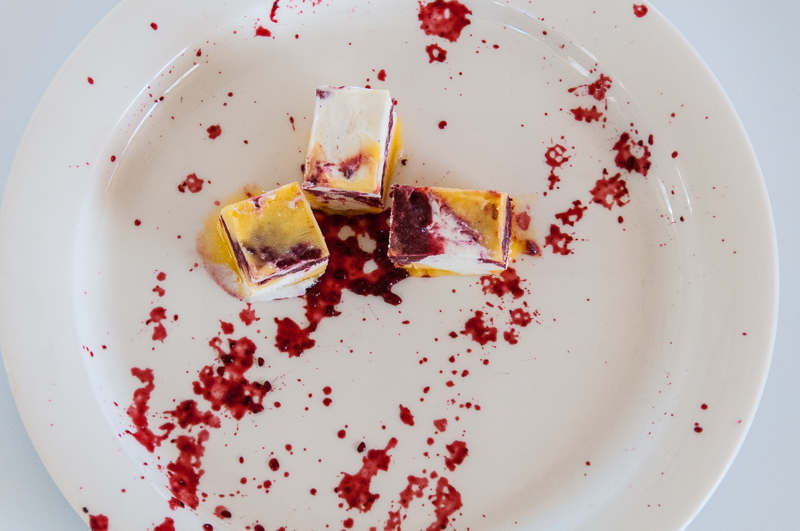
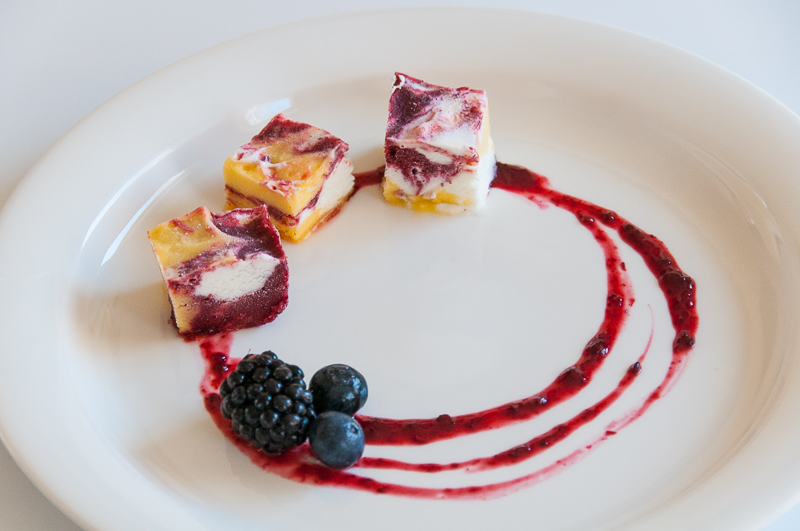
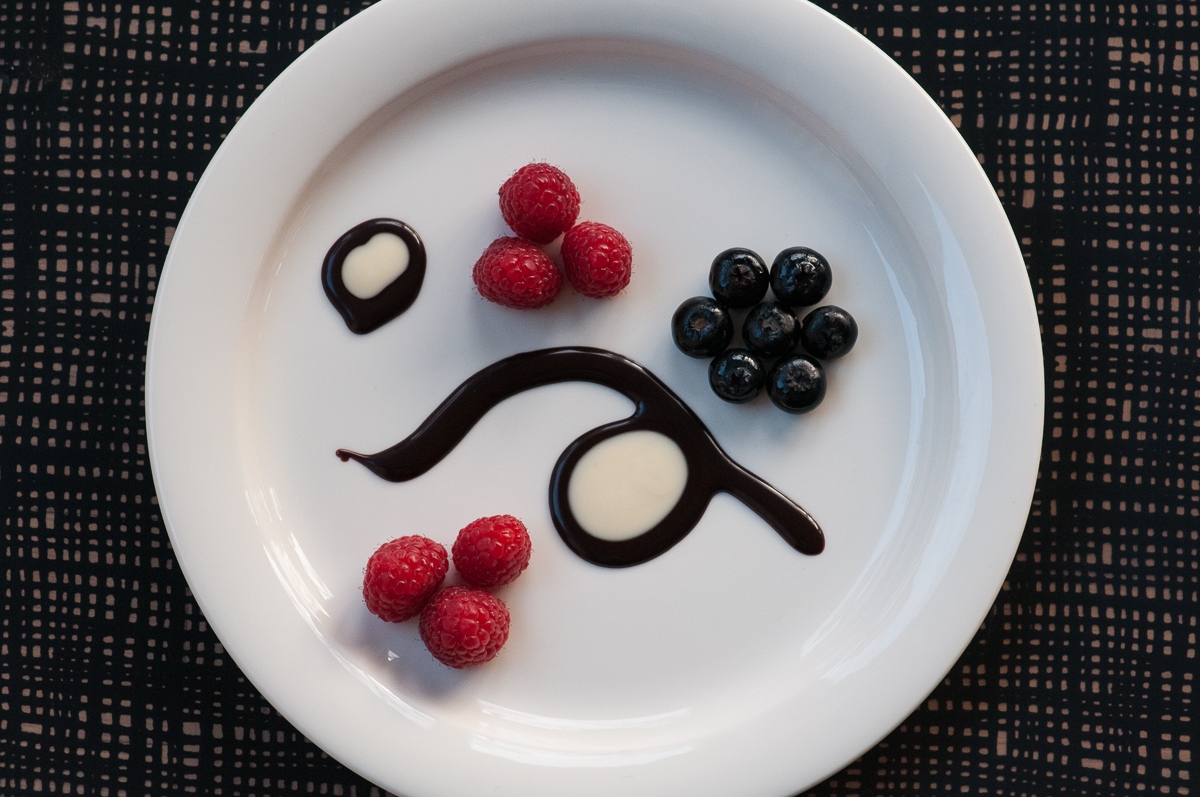
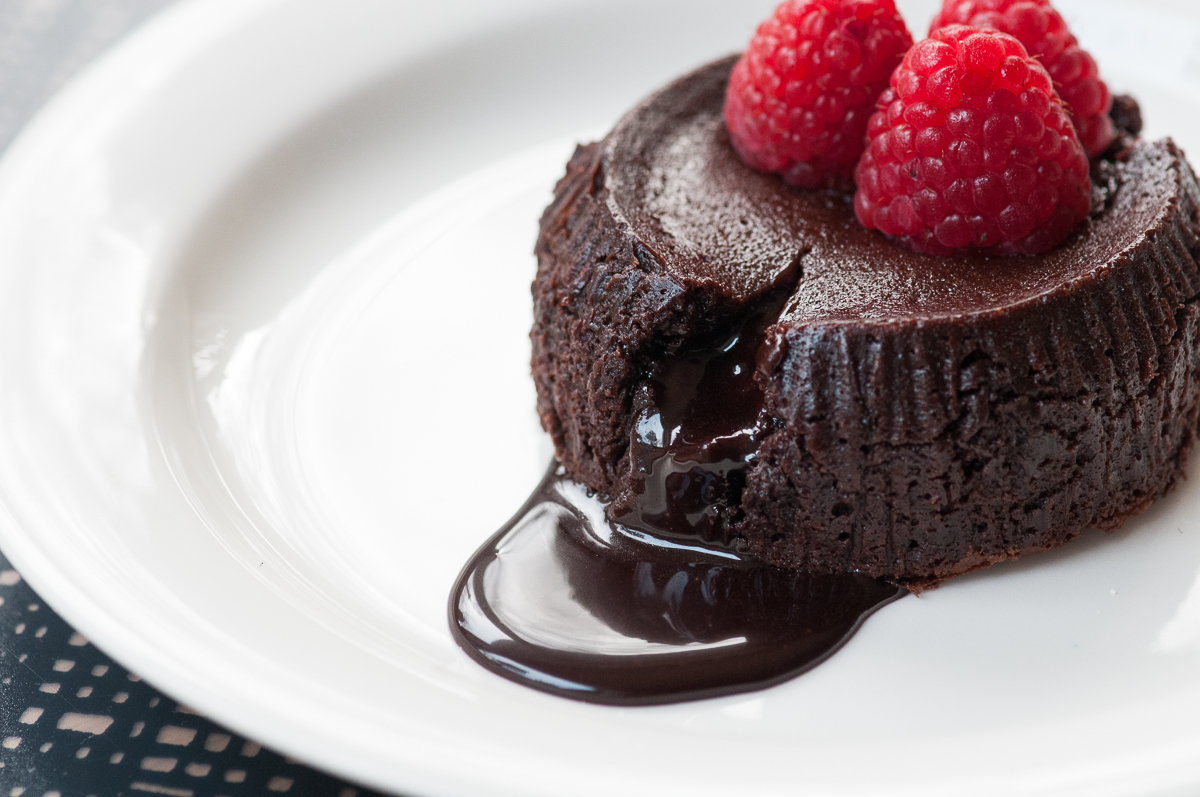
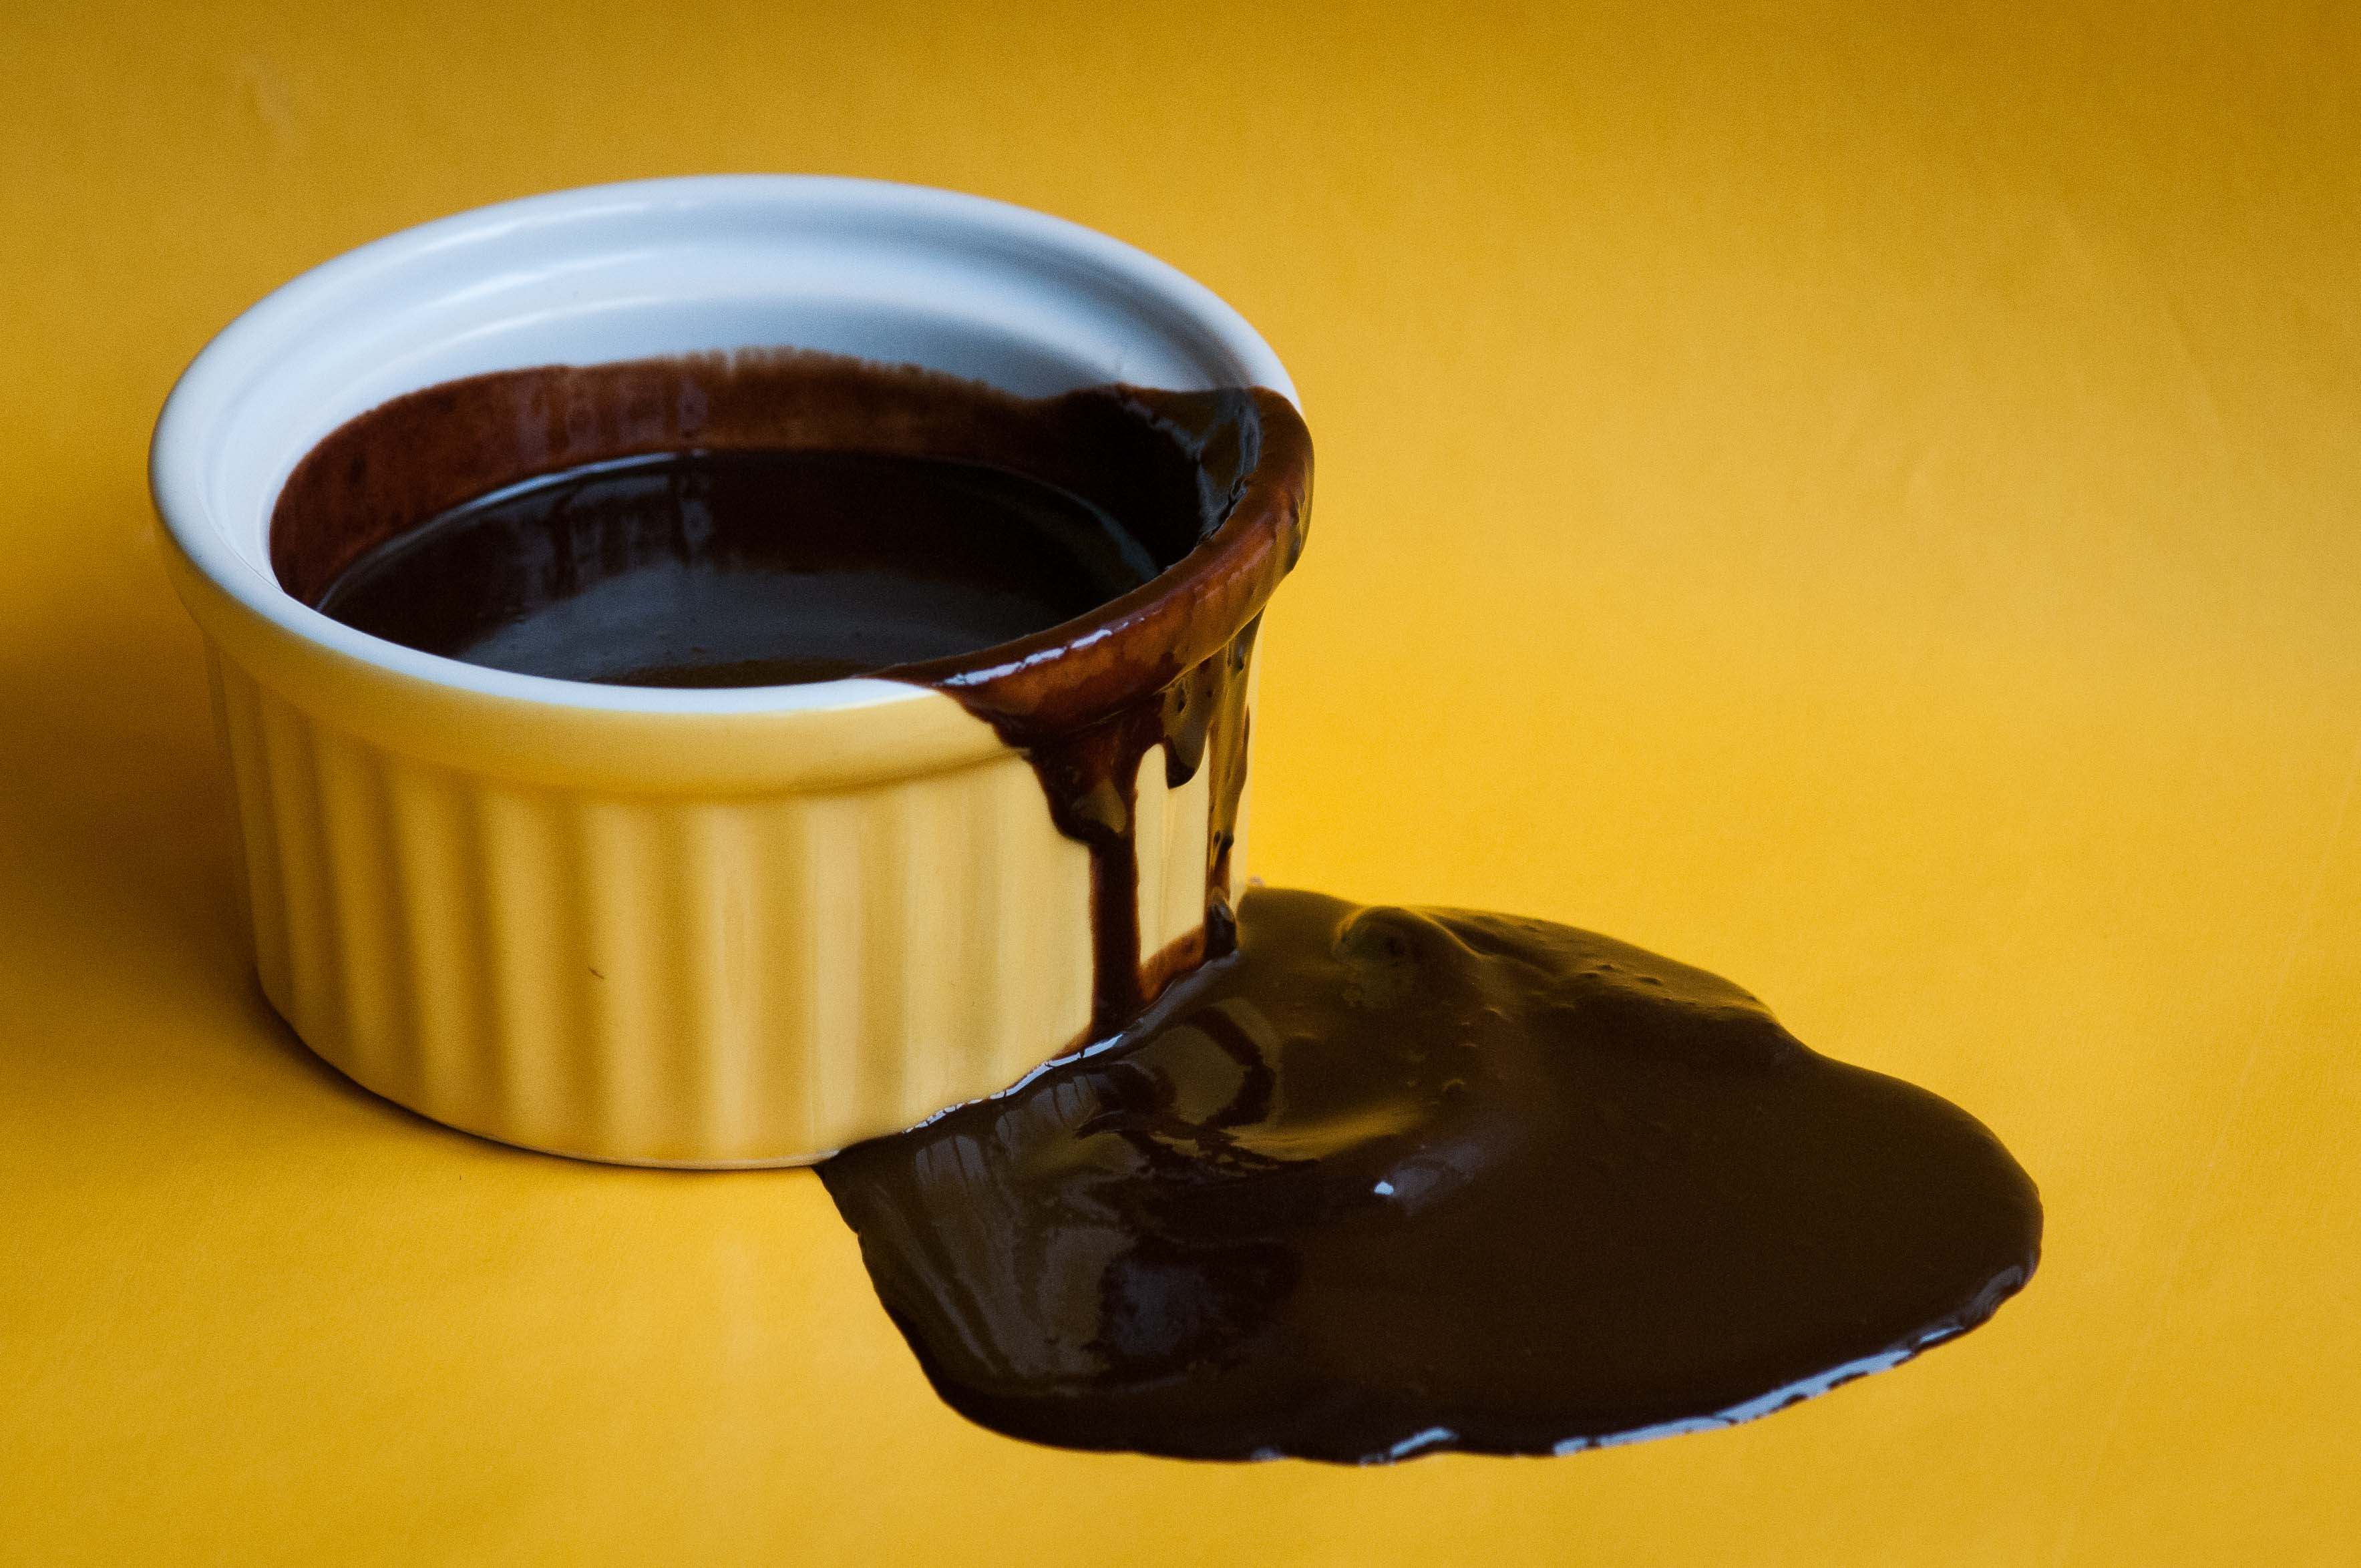
This is one of my favourite desserts. I keep coming back to it, making small changes and enjoying it even more than before. You’ve probably seen a few different versions of this already on my blog. Make in advance and have on hand in the fridge.

It’s wonderful dessert to be enjoyed in small servings – the perfect ending to dinner.

Also, it is a great Low Fodmap, dairy free and vegan dessert.

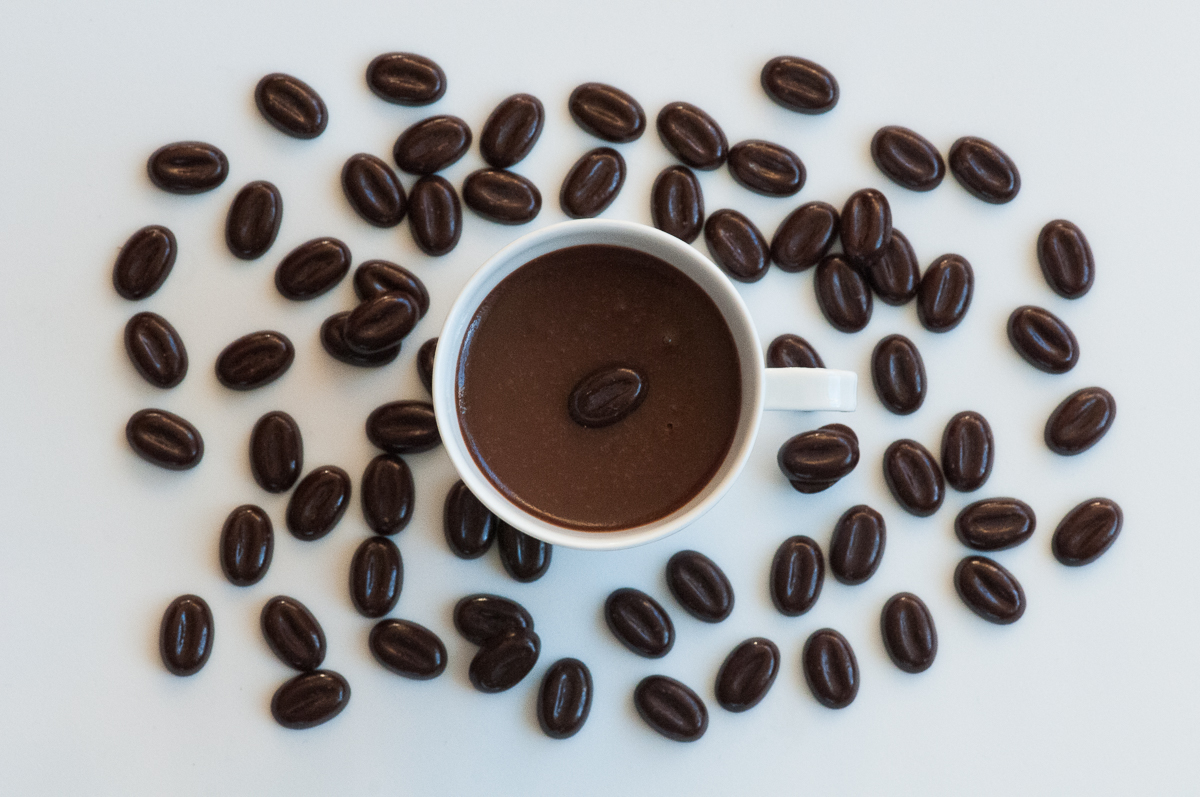
Serves 8-10 (depending on cup size. I use small espresso cups)
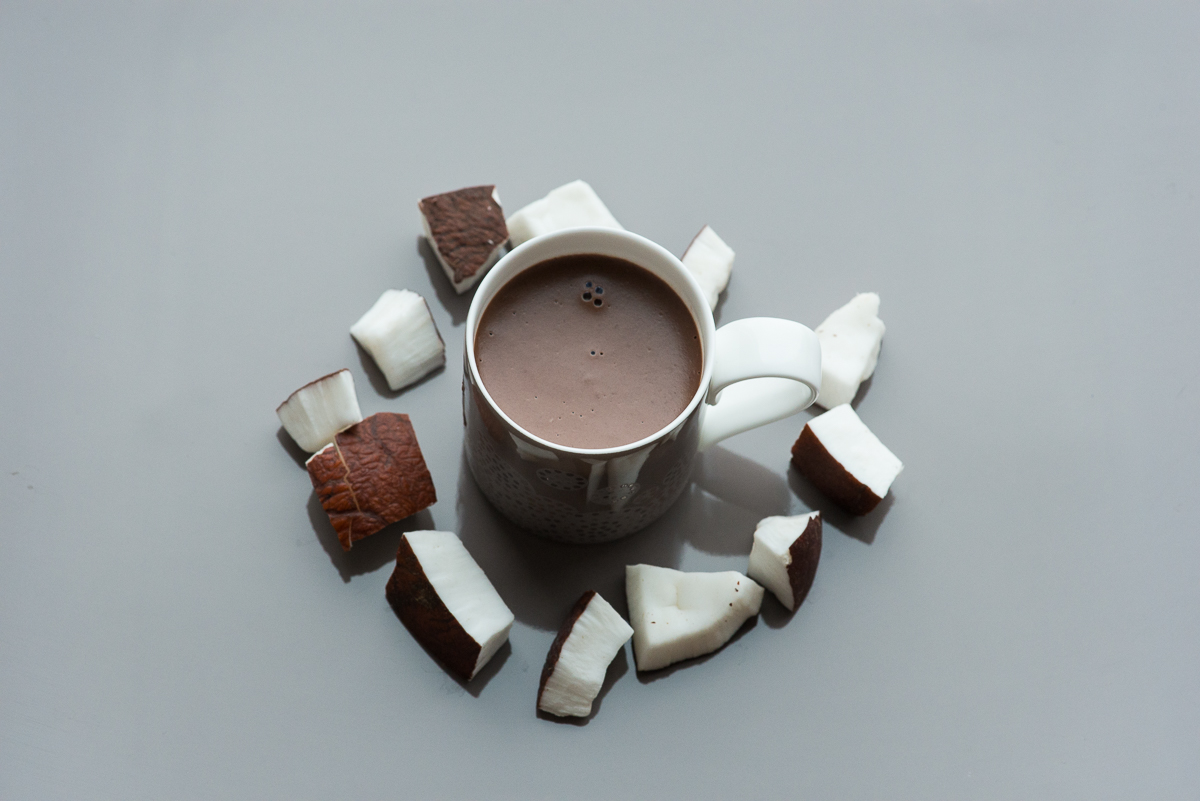
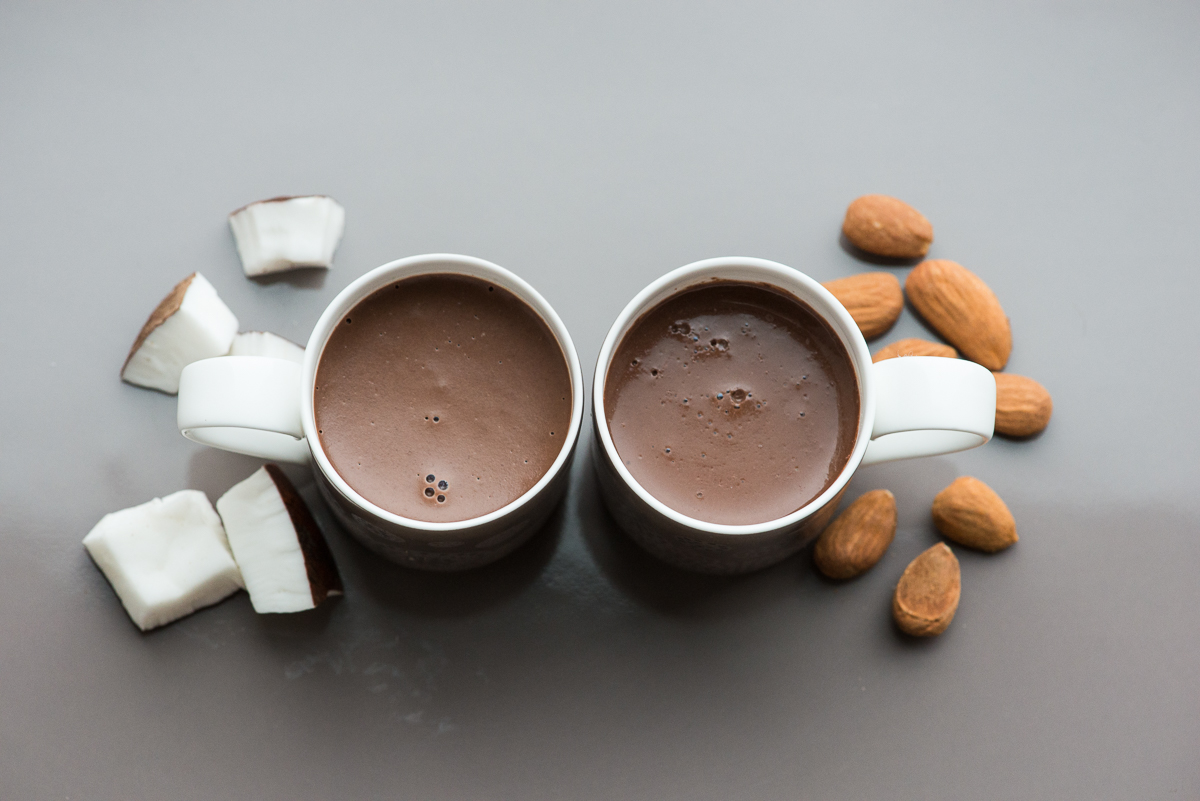
300 ml coconut milk
½ teaspoon Agar Agar Powder (or any other gelatin you feel comfortable working with – if using Agar Agar flakes, much more is needed, about 1/2 table spoon instead)
½ vanilla bean, seeds
Dash of salt
150 g vegan dark chocolate
Coarse salt

1. Dissolve the agar agar in a little cold water.
2. Bring the coconut milk to boil. Add the agar agar and let simmer for at least 3 minutes.
3. Add the seeds from the vanilla bean and a dash of salt. Let simmer another minute.
4. Take off heat.
5. Chop the chocolate and add to the milk. Stir until dissolved.
6. Pour into small espresso cups (or similar)
7. Refrigerate 1-2 hours before serving.
8. Serve with some sprinkled coarse salt on top.

Chocolate Avocado Mousse

170405 Chocolate Avocado Mousse-5220

This is a very quick and (almost) healthy recipe for a great chocolate mousse! The creamy avocado provides the thick, fluffy consistency in this mousse. A must try! Also, this recipe is dairy free, vegan and low fodmap (if you eat maximum 1/4 of the whole dessert).

Serves 4 (small servings)

300 ml coconut milk
3 tbsp cacao
1,5 tbsp maple syrup
1 tsp vanilla extract
½ ripe avocado
Dash of salt

Decorations:
Blueberries, raspberries, cacao nibs, banana, orange slices…

1. Combine all ingredients in a blender and process until smooth and thick.
2. Refrigerate minimum 2 hours before serving.

Variations:
Add some chili flakes to the blender or some crushed licorice candy (gluten free) after the choco mix has been processed.

Coconut Chocolate Treats

170201 Coconut Chocolate Treats-4345

These little treats are quick to make, not too sweet and not only gluten free but also dairy free and low fodmap. Don’t forget to refrigerate the coconut cream 24 hours before whipping.

Makes about 25 small treats

Base:
200 ml oats
75 ml cacao
25 ml maple syrup
50 ml rice syrup
50 ml grape seed oil (or other neutral oil to your liking)
pinch of salt

1. Combine the above ingredients.
2. Drop (using 2 teaspoons) small heaps onto a baking sheet covered with baking parchment.
3. Bake in 200C over for 8-10 minutes
4. Take out and flatten the base slightly, let cool

Whipped Coconut Cream:
1 can of coconut cream (or milk)

1. Refrigerate the coconut cream 24 hours. Do not shake the can.
2. Scoop out the separated, top creamy layer. Whip into a fluffy cream
3. Place into piping bags and pipe onto the little chocolate bases.

Sprinkle with cacao powder.

170201 Coconut Chocolate Treats-4350

Creamy Chocolate Chili Tofu Ice Cream

170120 Creamy Chocolate Chili Tofu Ice Cream-4278

Before you turn away thinking that Tofu ice cream sounds disgusting, let me tell you that it makes for the creamiest, most delicious ice cream ever!! My family loves it and many prefers this ice cream to “normal” ice cream. And – it is so easy to make!
The recipe is, apart from gluten free, also low fodmap, dairy free and vegan.
My daughter found the inspiration for this recipe on-line and I have only made minor adaptations.

Ingredients:
250 ml unsweetened almond milk
200 ml maple syrup
1 tbsp vanilla extract
75 ml raw cacao powder
A pinch of salt
500 g plain tofu
3 tbsp melted coconut oil

Chocolate sauce and chili flakes

1. Combine all the ingredients (except the oil) in a blender. When using a blender, always add the solid ingredients after pouring in the liquids, it blends much better this way.
2. Run until completely smooth.
3. Lastly, slowly add the coconut oil, do not overblend.
4. Pour into an ice cream maker (or, into a container you place in the freezer and take out and stir every 20 minutes until solid) and continue according to the ice cream maker’s instructions.

Serve with a citrus/raspberry sauce (see recipe two weeks ago), bananas and chopped nuts or, as I have done here, chocolate sauce (use search bar to find chocolate sauce posted earlier) and chili flakes.

Tricolore Ice Cream with Frozen Choco Air

161109-tricolore-ice-cream-0149

This dessert is more on presentation than actually cooking. On the web, I found some beautiful photos of this ice cream which formed the inspiration to this dish.
The ice cream is wonderful on its own but the addition of the frozen chocolate air adds a lot to the presentation.
Normally, foams/airs should be strong in flavour as it has a lot of air in them (with no flavour). But for the frozen air, don’t use any stronger chocolate than 70%.

Ingredients:
2 kinds of ice-cream (or sorbets), slightly thawed. As per the original recipe, I used mango and vanilla flavours.

The berry sauce:
250 g blackberries (frozen berries work well too).
75 ml concentrated black current juice
3 tbsp gin

Frozen Choco Air:
100 g dark chocolate, chopped
250 ml water
½ tsp soy lecithin

1. Process the ingredients for the berry sauce in a blender until smooth. For a completely smooth sauce, pour the sauce through a strainer/cheese cloth. Reserve some of the sauce for decoration.
2. Line a shallow casserole dish with baking parchment. Alternate spoonfuls of the two ice creams at the bottom of the dish, add the berry sauce in the gaps between the spoonfuls. Make two layers. You want to avoid any air bubbles. Place in freezer for 2-3 hours.
3. Bring the water for the Frozen Choco Air to a boil. Add the chopped chocolate. Remove from heat and stir until melted. Cool.
4. In a shallow dish, add the soy lecithin to the chocolate mixture and using an immersion blender, incorporate as much air as possible into the foam. The best way of doing this is to tilt the dish slightly and keep half of the blender outside the mixture while blending. There will be splatter so keep the bowl partially covered with cling film.
5. After 4-5 minutes you should have some foam. Spoon the foam (no liquid, just foam) onto a tray covered with baking parchment. Form little piles. Continue blending to make some more foam and then spoon that foam as well onto the tray.
6. When done, place in freezer for 1-2 hours.
7. Serving: Cut the ice cream into squares. Using a spatula, take some spoon and place on top of ice cream. Do not touch the foam with your hands as it will instantly melt. Placing it on top of the frozen ice cream allows the foam to stay in shape for a longer time. Decorate with the reserved sauce.
8. Serve immediately. If you decide to omit the foam, please find below some alternative plating ideas.

161109-tricolore-ice-cream-0289161109-tricolore-ice-cream-0256

Heavenly Hazelnut Pralines

1603 hazelnut pralines-2363

An amazing treat that I have adapted to become low fodmap as well as gluten and dairy free. Takes a bit of time to make but is absolutely worth the effort!!! Make a larger batch and store them in the refrigerator (although unsure how long they last…they tend to get quickly eaten no matter how many you make).
For this recipe, you need to temper chocolate (please see further down this page). If you’ve done this before, just follow the recipe. If you have never tempered chocolate before, you may want to read up on all the “dos and don’ts” in this exact procedure – there are lots of great websites discussing this.

Hazelnut filling

250 ml hazelnuts (which comes to about 150 nuts, so if you follow a strict low fodmap diet you will need to calculate how many balls you can eat as you should eat a maximum of 15 hazelnuts). (My melon baller makes 40 small balls, which means 3.75 hazelnuts in each).
75 ml pure maple syrup
2 tbsp rice syrup
150 ml hazelnut milk (almond milk will also work but give a different flavour)
75 ml cacao butter, (as measured when melted)
1 tsp vanilla extract
A pinch of salt (brings the flavour out)

1. Process hazelnuts in a blender until a smooth butter is formed (if you use ready made hazelnut butter you only need about 170 ml).
2. Add all other remaining ingredients except the butter. Blend.
3. Add the melted butter and mix until well combined. Do not overbeat! You can also use a spatula towards the end if it is not thoroughly mixed.
4. Pour the mix into a container and place in the freezer until firm.
5. Scoop out with melon baller and make small balls. Again, place in freezer until ready to be coated with the chocolate.

The chocolate

The chocolate needs to be tempered; heated and cooled to exact temperatures. The tempering allows for a smooth and shiny dipping chocolate that “snaps” when you bite into it. Don’t forget to use completely dry utensils.

250 ml cacao powder
375 ml cacao butter, finely chopped + 1 chunk to be used later (size of a thumb)
125 ml maple syrup
1,5 tsp vanilla extract
A pinch of salt
You also need a candy thermometer.

1. Melt the powder and butter (but save the chunk for the next step) in a bain marie (a bowl over water, simmering at a low temperature). Whisk the melting chocolate until it has reached 46C. Remove immediately!!
2. Add the syrup, vanilla extract and salt plus the large chunk of cacao butter, continue to whisk until the temperature has cooled to 29C. The chunk of cocoa butter is to assist you in the cooling process. When at 29C just remove what may remain of the chunk.
3. Put the bowl back on top of the saucepan and heat again. When at 31C remove immediately. The chocolate is now in temper and will produce a wonderful coating for your hazelnut balls.

Dipping

Shredded coconut
Chopped nuts
Cacao nibs

1. Using a toothpick, dip your hazelnut balls into the chocolate mixture, carefully coating all sides. Then dip into a bowl with the topping of you choice. Work quickly so the chocolate doesn’t cool down too much.
2. Store in the refrigerator.

1603 hazelnut pralines-2356

Coco Choco Panna Cotta

151223 coco choco dairyfree panna cotta-0817

This is the dairy free, low fodmap, version of the Espresso Panna Cotta I recently posted.

Serves 6-8 (depending on cup size)

300 ml cream of coconut
2 gelatin leaf
120 g chocolate, gluten and dairy free (I like the Kinnerton brand)

  1. Soften the gelatin in a bit of water
  2. Bring the cream of coconut to a boil, remove from heat
  3. Take out the gelatin and add to the coconut, stir until dissolved
  4. Pour the mixture over the chopped chocolate.
  5. Pour into small coffee cups.
  6. Chill 3-4 hours

It is also possible to make this with almond milk:

300 ml almond milk
3 gelatin leaves
160 g dark chocolate, dairy and gluten free

To be made the same way as the Coco Choco Panna Cotta.

151223 non-dairy panna cotta-0823

Berries with Black and White Sauce

151216 Berries with black and white sauce-9336

  1. I like to add a liquorice flavour to the dark chocolate sauce. For the white sauce, I use some ginger. Any fruits/berries that you like can be added to this dessert.

    Serves 4-6 (depending on how much sauce you pour on the plates.)

    100 ml single cream
    90 g dark chocolate
    Salt from a salt mill
    4-5 cm piece of liquorice root (found in health food stores)

    90 g white chocolate
    50 ml single cream
    ½ tsp ground ginger

    Berries

  1. Melt the chocolate in a “bain marie” (a bowl sitting over a saupan with boiling water. Don’t let any water into the bowl as this will ruin the texture of the chocolate.
  2. In a small saucepan, heat the cream with the liquorice root. Simmer over very low heat 4-5 minutes.
  3. Discard the liquorice root. While stirring, pour enough of the cream into the melted chocolate to create a good texture for piping and stir well. Add some salt.
  4. Spoon into something you will use for piping the chocolate on a plate. I usually use a small plastic bottle with a screw on pipe on top. A plastic bag with a small nozzle will also work.
  5. Melt the white chocolate with the cream in a bain marie.
  6. Add the ginger. Stir well.
  7. Spoon into small cup.
  8. Let the 2 chocolate mixtures cool.
  9. When cool, pipe the dark chocolate onto a plate creating at least 1 circle. Fill the circle by spooning the white mix into the empty circle.
  10. Place some berries on the plate and serve.

Espresso Panna Cotta

151209 Espresso Panna Cotta-9466

Quick and easy to make. Just needs a bit of time (3-4 hours) in the fridge.
To be served as an after dinner coffee.

Serves 6

250 ml double cream
2-3 tbsp dried espresso coffee
150 g chocolate (dark or milk), chopped
1 gelatin leaf or ½ tsp granulated gelatin
To decorate: Chocolate covered coffee beans

  1. Place the gelatin leaves in a bit of water to soften.
  2. Bring the cream to a boil, remove from heat, add the coffee and the gelatin, stir until melted. Pour over the chocolate pieces and mix well.
  3. Pour into serving 6 small espresso cups and refrigerate for at least 3-4 hours.
  4. Decorate with the coffee beans.

Chocolate Fondant with Raspberry Surprise

151111 raspberry chocolate fondant-9361

The traditional Chocolate Fondant with a twist. In the middle of the chocolate, I place a fresh raspberry. A sweet and fruity surprise. The correct texture of the fondant is dependant on ingredients, (size of ramekins if you use something different) and oven heat. Since the heat of the oven may vary from oven to oven, you may want to make one extra fondant and test before baking those you will serve your guests. Also, I always use my kitchen scale for this recipe.

Serves 4

120 g dark chocolate (at least 70%)
115 g butter
3 eggs (190 g)
125 g sugar
50 g gluten free flour
Butter for the ramekins (or any other small mold you want to use)
Raspberries (1-2 per serving)
Raspberries to serve on the side
Whipped cream to serve on the side

  1. Oven at 200C
  2. Melt the butter in a bain-marie (a bowl set on top of boiling water on your stove)
  3. Mix the sugar and eggs, add the flour and stir well.
  4. Butter the ramekins well.
  5. Fill each ramekin to 1/4th and add the 1-2 raspberries. Fill with more chocolate mix, up to 3/4th of the ramekin.
  6. Place in heated oven 7 minutes. The crust should have formed on top before taking it out. Let stand for 5 minutes before turning onto plate.
  7. Serve with some more berries (and whipped cream) on the side.

Chocolate Cream with Salted Candied Pecans and Raspberry Drizzle

151007 Salted Candied Pecans with Chocolate Cream-9044

Sweet Drizzle, Salty Pecans and Creamy Chocolate – this is a wonderful dessert with many flavours! The salted pecan brings a great contrast to all the sweetness of this dish, but please serve your guests more pecans with your dessert than this photo shows. The chocolate needs to be prepared at least 12 hours before serving.

Serves 4

Chocolate Cream:
150 ml double cream
150 ml milk
3 egg yolks
150 g dark chocolate, chopped

Raspberry Drizzle:
100 ml sugar
2 tsp water
75 g fresh raspberries
50 ml water

Pecans:
100 g pecan halves, quartered (not as finely chopped as on the photo)
Coarse salt (I use a salt mill)
1-2 tbsp honey

1 Papaya

Chocolate Cream:

  1. On low to medium heat, bring a mixture of cream, milk and eggs up to simmer (do not boil!) while stirring.
  2. Take off heat, add the chocolate and stir until completely smooth.
  3. Pour into small container (so that the chocolate cream will form a layer at least 4 cm high), cover and chill over night.

Raspberry Drizzle:

  1. Melt the sugar with 2 tsp water in a saucepan over low to medium heat until it has caramelized and browned.
  2. Add berries and remaining water. Bring to a boil and let the sugar completely dissolve. Reduce a bit if you want a thicker sauce.
  3. Strain into bowl. Let cool.

Salted Candied Pecans:

Roast the pecans in a dry, hot pan. When starting to brown, add salt and drizzle the honey over. Roast a few more minutes. Cool.

Papaya Swirls:

Peel the papaya. Using the peeler, cut strands of papaya.


Assembly:

  1. Using two spoons, form chocolate quenelles and place on serving plates.
  2. Arrange strands of papaya.
  3. Drizzle the sauce.
  4. Add the nuts. (be generous with the nuts, the provide the salty balance against all sweetness)


Chocolate Crisp Sandwich with Kahlua Cream and Berries

09 Chocolate Crips Sandwich w Kahlua Cream and Berries DSC_8564

A fun and easy dessert which can be prepared in advance and assembled just before serving.

Serves 4-6

50 g butter, melted and cooled
100 g icing sugar
15 g cocoa powder
25 ml espresso coffee, cold
25 g gluten free flour mix (not selfrising)
25 g walnuts, toasted and chopped

200 g double cream
3 tbsp Kahlua liqueur

Berries

  1. Mix all the ingredients. Let stand for 1 hour (in rooms temperature).
  2. Set the oven to 200 C.
  3. Using a small spoon, drop the batter in small piles onto greaseproof baking parchment.
  4. Bake in the middle of the oven for 6-7 minutes. The cookies will float into very thin “crisps”. Take care not burning.
  5. If you need to cut them into smaller pieces, do this upon removing them from the oven, while still hot.
  6. Let cool on the baking sheet
  7. Whisk the cream with the Kahlua.
  8. Assemble as Chocolate Sandwiches just before serving. Put one crisp on bottom and one on top with Cream and Berries in between.

Salted Caramel Truffles

photo 3

These little pieces of chocolate will certainly impress everyone around the table. If you want a thick chocolate cover you can dip them twice in the chocolate. We all know there is no such thing as too much chocolate!

Makes 50

1 tin (397 ml) of condensed milk
a pinch of sea salt
200 g dark chocolate (70% cocoa), broken into pieces

1. Place the unopened tin of condensed milk in a large saucepan and cover with water. Bring to the boil, then lower the heat and simmer for 4 hours, making sure you top up the water throughout so the tin is always submerged. Take out and allow to cool for 30 minutes.
2. When cool, open the tin and spoon out the caramel into a bowl, add the salt and mix well. Taste and add more salt if you like. Chill in the fridge for 30 minutes so it firms up a bit – you’ll find it much easier to work with.
3. Once chilled, use two teaspoons to make balls the size of a small marble and place on a plate. Put into the freezer for 2 hours, or until firm.
4. Melt the chocolate in a heatproof bowl set over a saucepan of gently simmering water. Line a baking sheet with baking paper. Put on plastic gloves (to not make too much mess), and take the balls out of the freezer. Coat your gloves with melted chocolate, roll one ball and place on the prepared baking sheet. Repeat the process until all the balls are coated. Put into the fridge for about 1 hour to set the chocolate and to allow the caramel to defrost and soften.

Chocolate Maple Sauce

This yummy sauce is both gluten and dairy free.

Serve as part of a Children’s Party Menu with
Perfect Pizza, Churros, Very Blueberry Scones, Banana Choco Bread and Grandma’s Chocolate Balls

1 tsp cornflour
1 tbsp cocoa powder
25 g butter (margarine for dairy free)
100 ml maple syrup
50 ml water

  1. In a small sauce pan, mix cornflour and cocoa powder
  2. Add butter and syrup, stir until melted
  3. Add the water
  4. Let simmer on low heat until thickened

Banana Choco Bread

This sweet bread is a family favourite. The perfect use for those slightly browned bananas.

Serve as part of a Children’s Party Menu with
Perfect Pizza, Churros, Chocolate Maple Sauce, Very Blueberry Scones and Grandma’s Chocolate Balls

125 g gluten free flour mix
1 tbsp baking powder
½ tsp baking soda
A pinch of salt

250 ml (about 2 medium) ripe bananas, mashed
50 ml brown sugar
100 g Greek style natural yoghurt
1 egg
2-3 drops of vanilla extract

100 ml of chocolate chips
Oil for greasing the loaf tin


  1. Heat the oven to 175C
  2. Mix the dry ingredients well.
  3. Add bananas etc
  4. Stir in chocolate chips.
  5. Line a loaf tin with baking parchement and grease with oil
  6. Place in oven for about 20 minutes or until a knife inserted in the middle comes out clean.