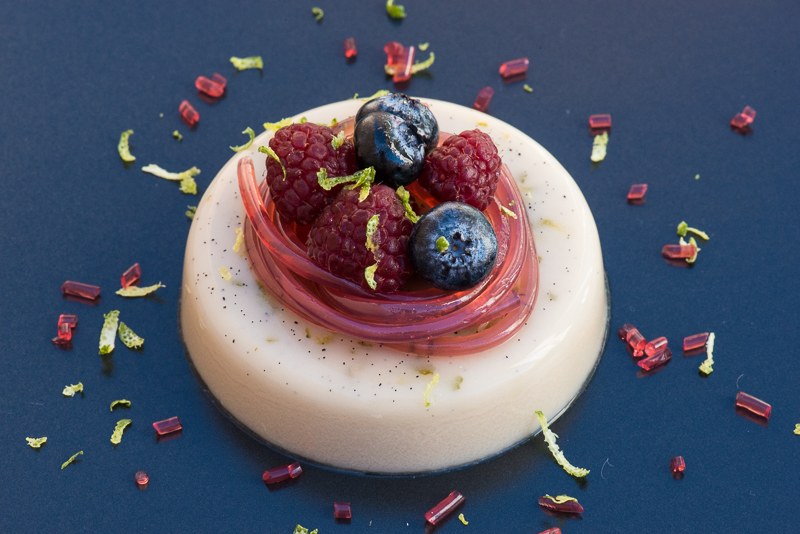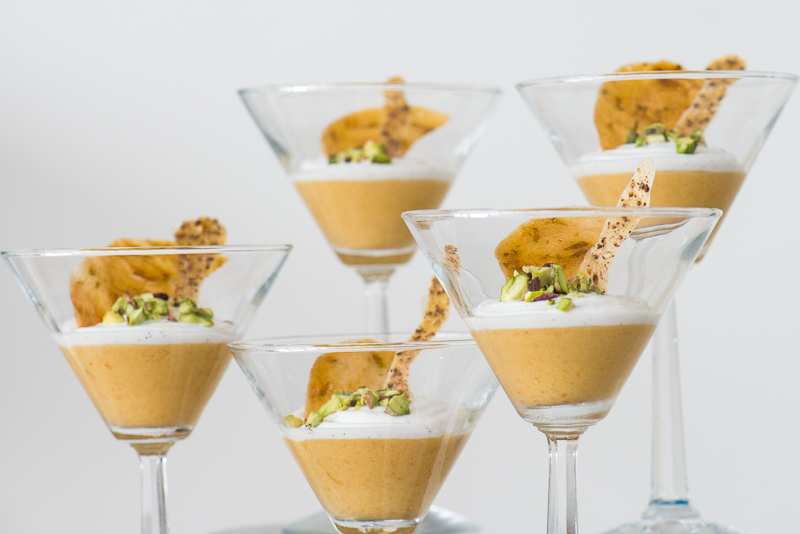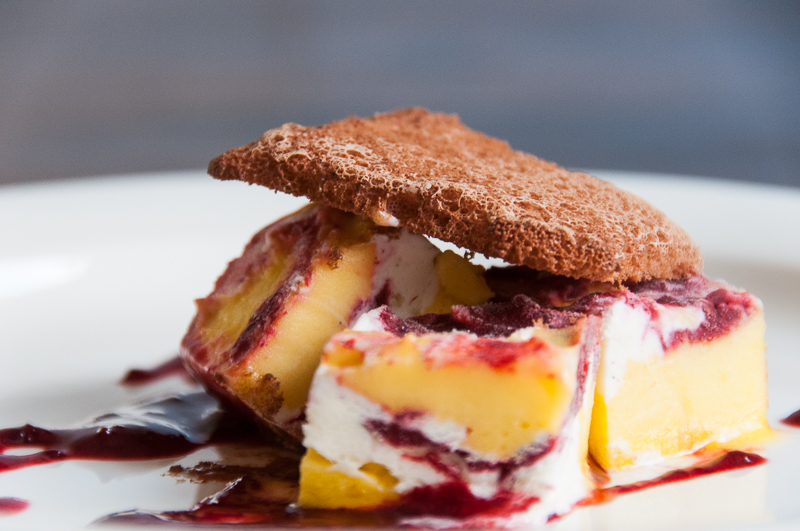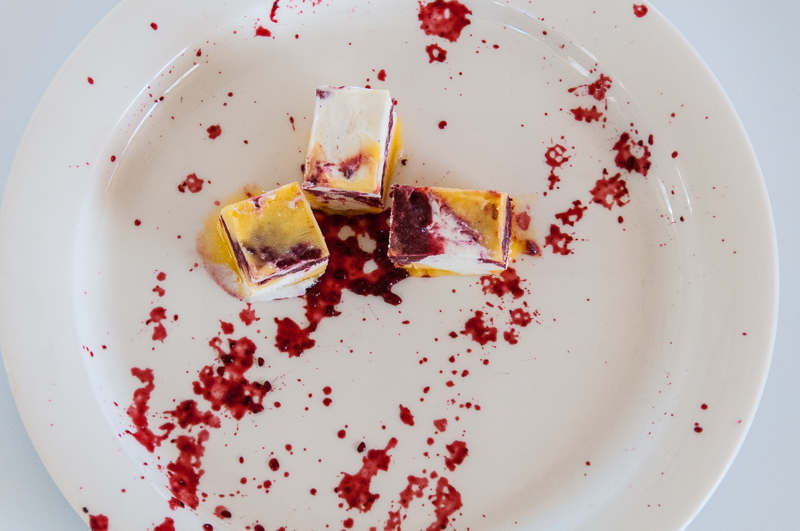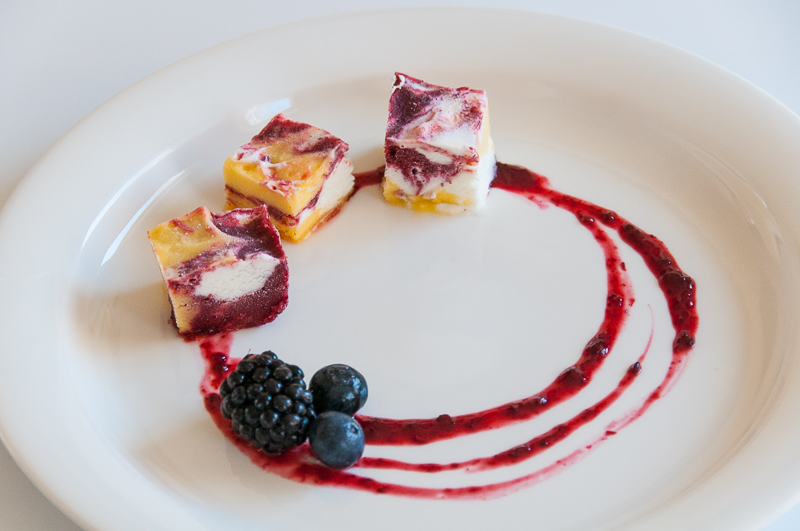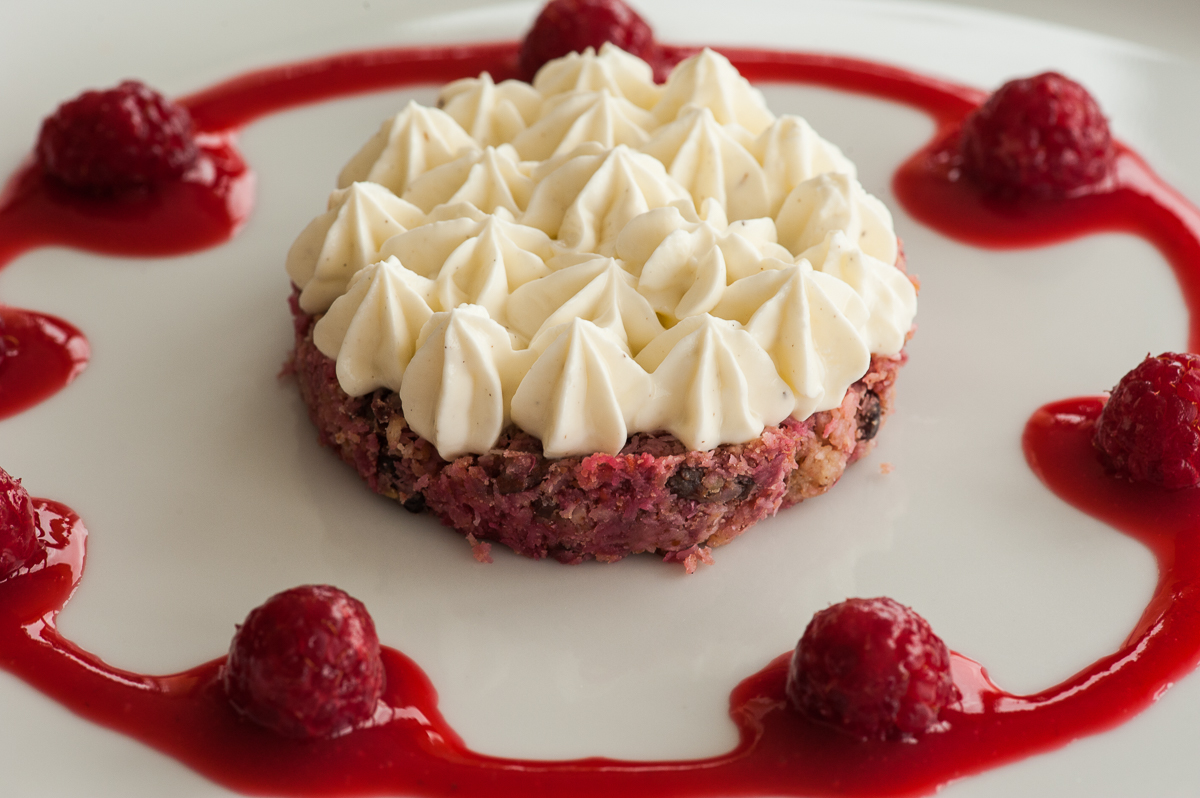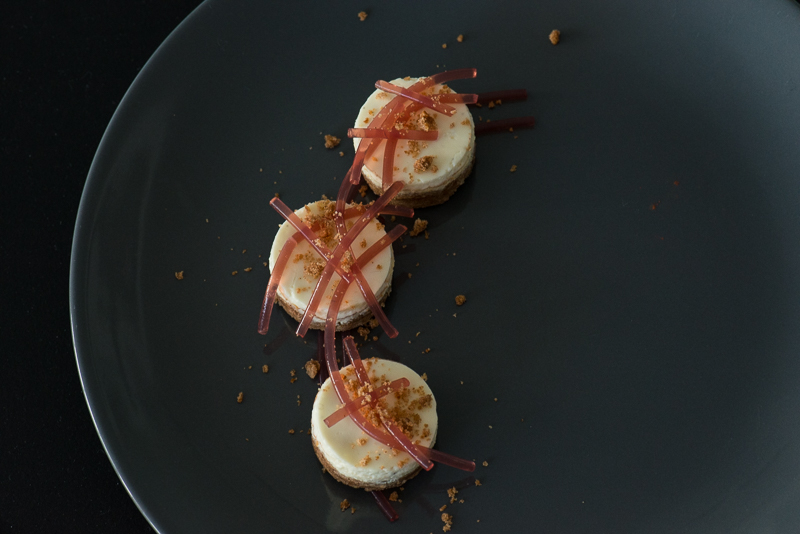
A fun Christmas dessert! I originally wanted to make the cakes into little parcels but ran into difficulty when trying to tie the fruit strings/noodles around the parcel. The string kept breaking: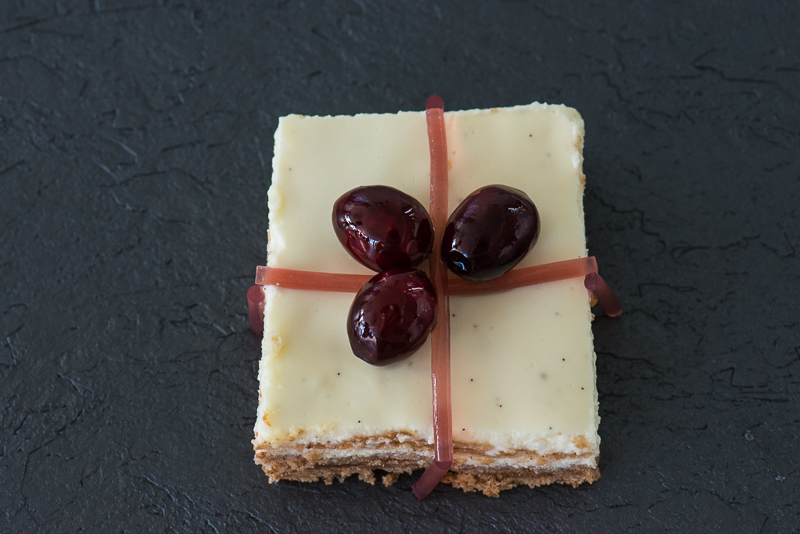
I have since succeeded somewhat better (will post in a later recipe) but it’s quite tricky to get the balance right between holding together in one long string and being firm to being bendable enough… Good luck if you attempt the parcels, if not, then there are so many other options (like the one I’m presenting here). For more help in how to create the noodles, please click here.
For this dessert you will create:
Ginger crumbs
Cheesecake
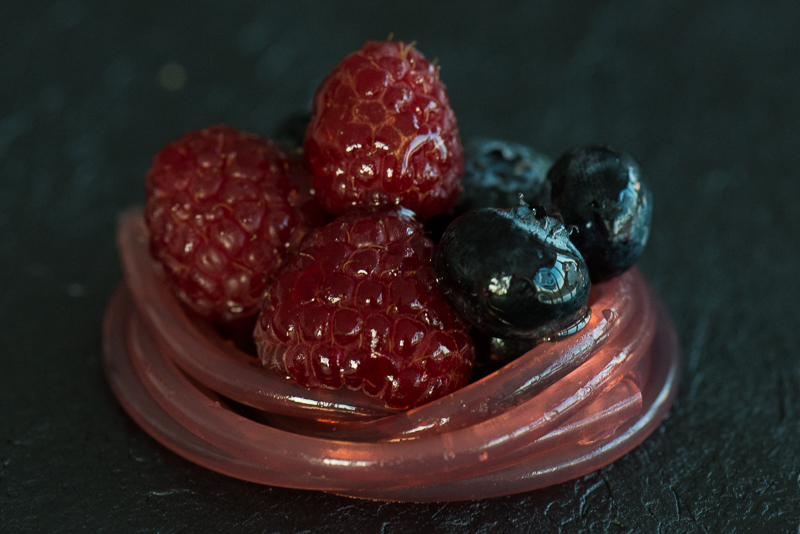
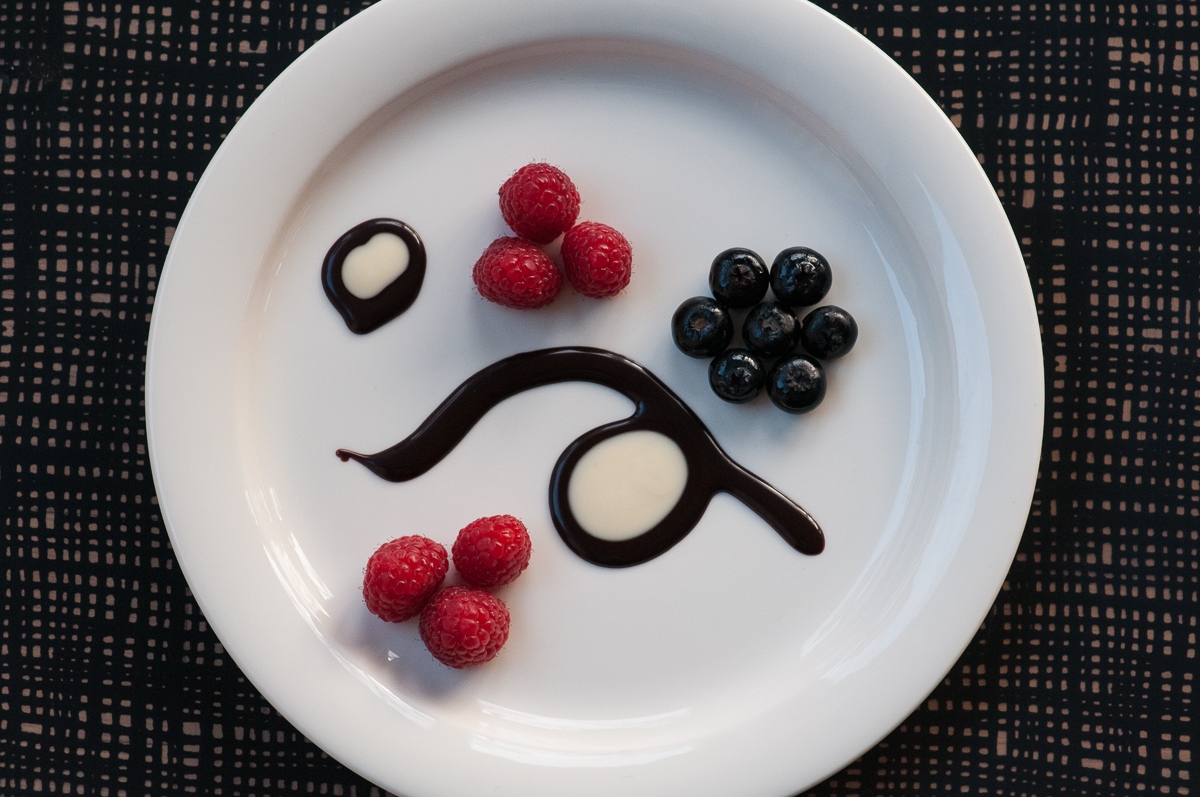
Lingonberry (or cranberry) noodles
Base – Ginger Crumbs:
75 g butter, melted
1,5 tsp ground ginger
1,5 tsp ground cinnamon
0,5 tsp ground cloves
¼ tsp ground cardamom
75 ml sugar
75 ml maple syrup
400 ml gluten free flour (rice flour)
Dash of salt
¼ tsp baking soda (sodium bicarbonate)
1. Mix the dry ingredients in one bowl then add the liquids.
2. Press into the bottom of a springform pan
3. Bake 12-15 min in a 160 C oven
4. Let cool a bit
Cheesecake:
Filling:
350 g Philadelphia Cream Cheese
1 tsp vanilla (½ scraped out vanilla bean)
2 eggs
Dash of salt
1. Mix well
2. Pour into the cooled crust
3. Bake 35 min, 160 C oven – you only want it to set, not brown
4. Cool
Topping:
400 ml sour crème
1 tbsp sugar
¼ vanilla bean, scraped out seeds
1. Mix sour crème, sugar, and vanilla bean (or vanilla extract, if you prefer)
2. Pour on top of the cooled filling
3. Bake 10 minutes
Lingonberry (or cranberry) noodles:
300 ml lingonberry/cranberry juice
(plus some berries for decoration)
5 g agar powder (2,5 tsp)
Ice and water 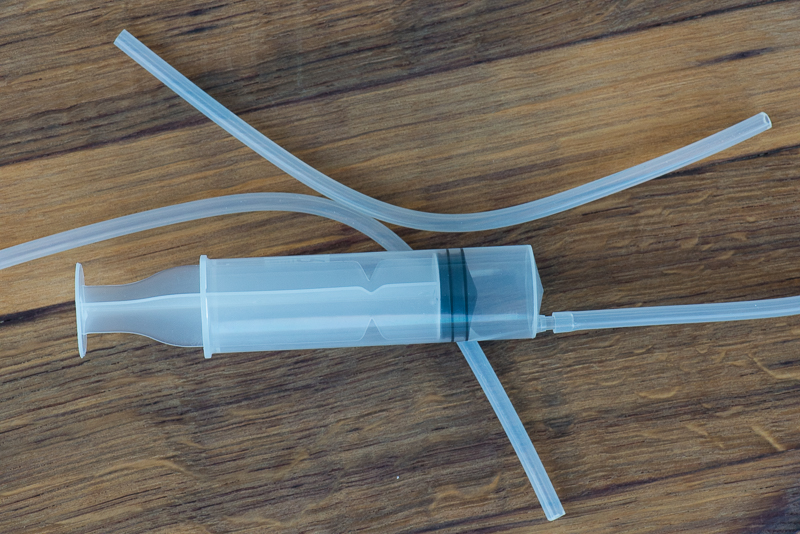
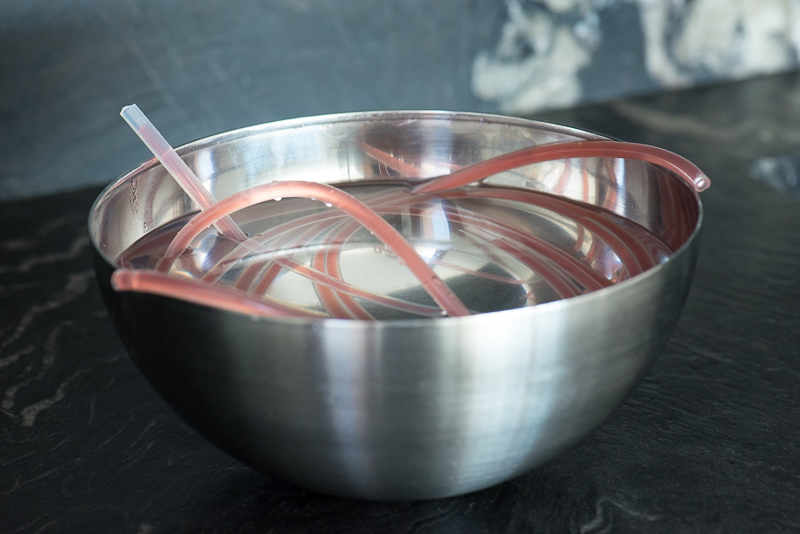
1. Prepare a large bowl of ice cold water where you will chill the noodles.
2. Mix the juice and agar and bring to boil for 3 minutes while stirring.
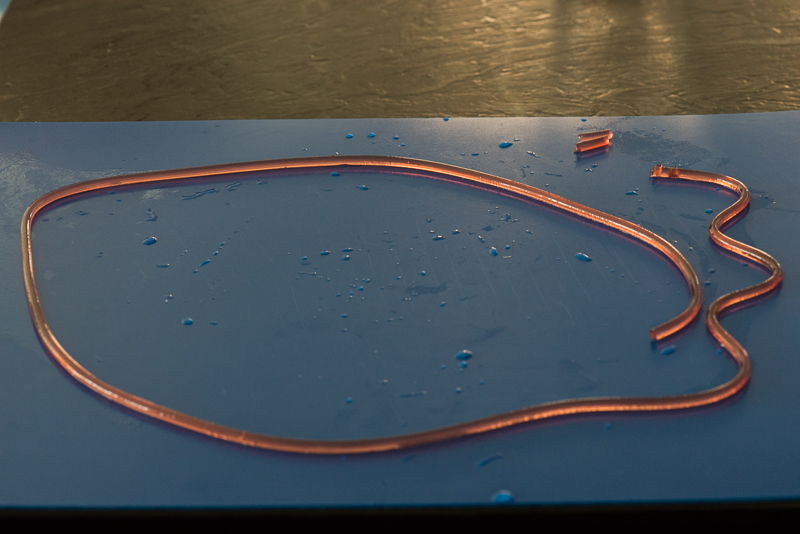
3. Cool one minute, then fill syringe and then the tube.
4. When the tube is full, remove from syringe and chill in ice water for a few minutes.
5. Empty the tube by inserting empty syringe and slowly and carefully pushing the air through.
For more info on how to create the noodles please click here.

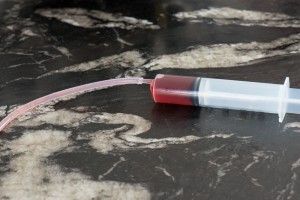 Make the syrup according to the recipe. Add some syrup into the syringe, fit the tube (long tubes are the best) on the syringe and push to fill the tube.